Cloud providers are fantastic, but the monthly recurring costs (MRC) can eat a hole in a sysadmin’s wallet faster than a memory leak in a Java app. For the past year, I’ve been repatriating my data, moving away from AWS and Azure back to local infrastructure. The goal? Build a robust, self-hosting environment capable of running virtual machines, containers, and a firewall, all while keeping the initial hardware spend under $500.
Living in Iowa adds a unique layer of complexity to this challenge. We aren’t just dealing with cooling; we are battling the Midwest climate. My basement, while cool in winter, becomes a humid, stagnant box during the summer. Running a power-hungry Dell R720xd isn’t just loud—it’s an environmental liability. I needed something efficient, quiet, and powerful enough to handle modern workloads without tripping the circuit breaker.
Hardware Selection: The “TinyMicro” vs. Custom Build Debate
When planning a budget homelab, the first fork in the road is usually between buying refurbished enterprise gear (Dell/HP rack servers) or going the custom route. Older rack servers are cheap upfront, often selling for the price of shipping. However, they are power hogs. A dual Xeon E5 system can easily idle at 100W+.
With Iowa electricity rates hovering around $0.14/kWh, that idle draw translates to nearly $10-$15 a month just to keep the lights on. Over a year, that erodes the “savings” of buying cheap hardware. I needed efficiency. This led me to the embedded/mobile CPU market.
I chose a custom ITX build based on the AMD Ryzen 5 5600G. This APU offers 6 cores and 12 threads with a 65W TDP, crucial for keeping thermals low in an unconditioned basement space. It includes an integrated GPU, which is vital for console access without needing a dedicated graphics card.
The Parts List & Cost Breakdown
Staying under $500 required careful component selection, specifically targeting the secondary market for RAM and storage.
- CPU: AMD Ryzen 5 5600G (Retail) – $125
- Motherboard: B550 ITX Board (supports ECC UDIMM) – $130
- RAM: 2x 32GB DDR4 ECC UDIMM (64GB Total) – $75 (eBay)
- Storage: 1TB NVMe (Boot) + 4TB SATA SSD (Data) – $150
- Case & PSU: Streacom FC8 (Passive) + Flex ATX PSU – $100
- Total: $580 (Approx.)
I went slightly over budget on the case to get the Streacom FC8, a fanless chassis that acts as a massive heatsink. In a dusty basement, moving parts like fans eventually fail. A passive case means zero noise and zero maintenance dust-ups, provided the thermal ceiling isn’t breached.
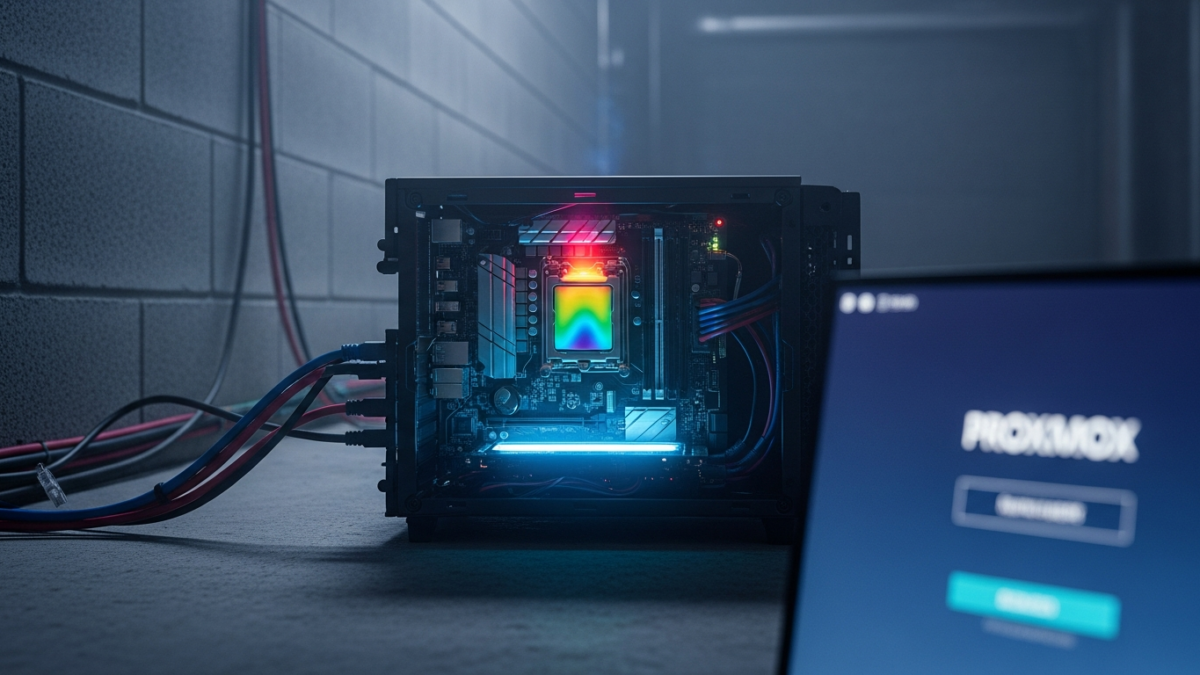
Proxmox VE Installation and Under-the-Hood Tuning
With the hardware assembled, the software layer was next. Proxmox VE (Virtual Environment) is the de-facto standard for homelabs today, especially after Broadcom’s licensing changes pushed many enthusiasts away from ESXi. Proxmox offers ZFS support out of the box, which is non-negotiable for data integrity.
Installation and ZFS Setup
I installed Proxmox VE 8.1 directly onto the 1TB NVMe drive. While a RAIDZ1 mirror is ideal for the boot drive, budget constraints dictated a single drive for the OS. To mitigate risk, the 4TB SATA SSD is set up as a separate ZFS pool for critical data storage.
Post-Install Hardening
Immediately after installation, I switched the repository configuration. By default, Proxmox points to the enterprise repository, which requires a paid subscription. You can still get updates, but you need to disable the enterprise repo and enable the “No-Subscription” repository.
Open /etc/apt/sources.list and comment out the enterprise line, then add:
deb http://download.proxmox.com/debian/pve bookworm pve-no-subscription
Next, I tackled the CPU Governor. To ensure snappy response times for containerized workloads, I forced the CPU governor to “Performance” mode. While this sounds counter-intuitive for power saving, modern processors ramp up voltage so quickly that the intermediate states often waste more power than simply staying at a steady, low frequency.
Network Configuration
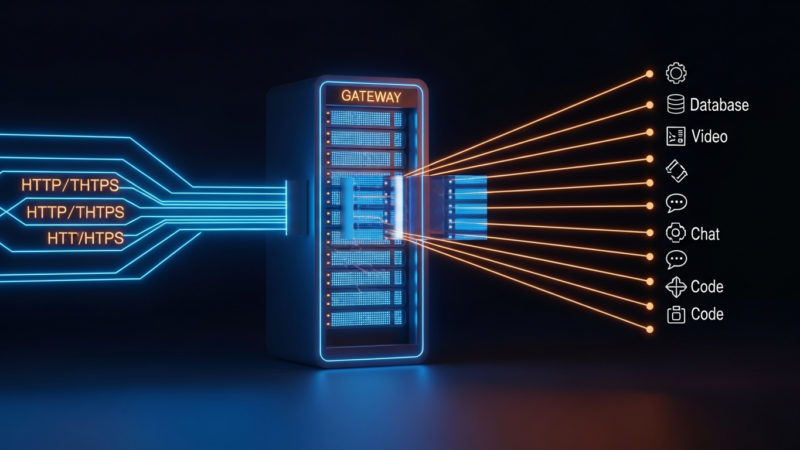
Networking is the backbone of any lab. I configured a Linux Bridge named vmbr0 bonded to my physical NIC. To segregate traffic, I implemented VLAN tagging directly in Proxmox. This keeps my IoT devices, security cameras, and guest networks isolated from my main management network.
Workload Deployment: Automating the Stack
Clicking through the GUI to create VMs is fine for learning, but it doesn’t scale. I wanted to treat this basement rig like a production environment. I utilized Ansible to handle the provisioning of my LXC containers.
The Core Stack (LXC Containers)
LXC containers are lightweight and share the host kernel, making them incredibly efficient for services that don’t require a full OS virtualization overhead.
- Pi-hole: My first line of defense against ads. Running in an LXC container, it handles DNS for the entire house with negligible CPU usage.
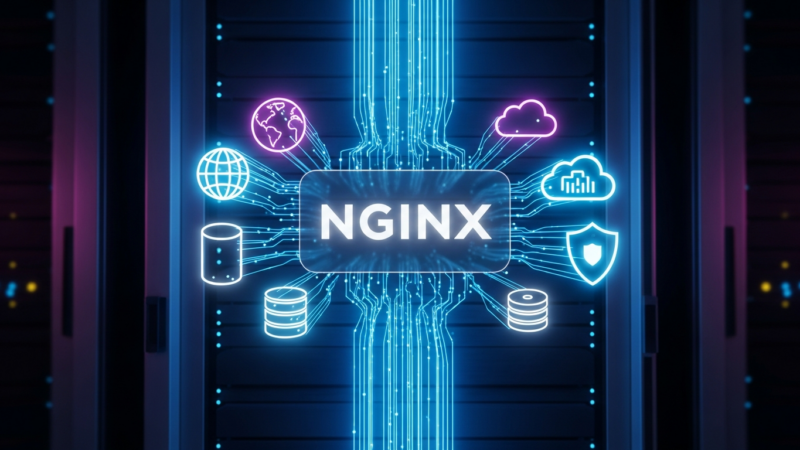
- Nginx Proxy Manager: This sits in front of my services, handling reverse proxying and automatically renewing Let’s Encrypt SSL certificates. It makes accessing internal services via HTTPS seamless.
- Home Assistant: Essential for home automation. Since I’m in Iowa, monitoring energy usage is critical. Home Assistant pulls data from my smart meter to correlate server usage against total household consumption.
Virtual Machines (VMs)
For heavier lifting, I deployed full VMs. I set up TrueNAS Scale to manage the 4TB data pool. Using PCIe passthrough (IOMMU), I passed the extra SATA controller directly to the TrueNAS VM. This bypasses the Proxmox hypervisor layer for storage traffic, reducing overhead and increasing throughput.
I also deployed OPNsense as a firewall VM. By passing a secondary Intel NIC to this VM, the Proxmox box effectively doubles as my edge router, providing enterprise-grade firewalling and VPN capabilities for the house.
Power Consumption & ROI Analysis
The true test of this build is whether it actually saves money compared to the cloud or older hardware. I plugged the server into a Kill-A-Watt meter to get real-world data.
At idle (which is 90% of the time for a homelab), the Ryzen 5600G build pulls a measly 25W. Under full load (running a backup, compiling code, and streaming media), it spikes to about 65W.
The Cost Calculation
Let’s look at the math. Using the average Iowa rate of $0.15/kWh:
Idle Cost (Monthly): (25W / 1000) * 24 hours * 30 days * $0.15 = $2.70/month
Max Load Cost (Monthly): (65W / 1000) * 24 hours * 30 days * $0.15 = $7.00/month
Compare this to a Dell R720. Even idling, a dual Xeon server consumes roughly 150W. That would cost roughly $16.20/month just to sit there.
The Break-Even Point
I was previously paying for a Google Drive subscription ($10/month) and a small VPS ($5/month) for testing. By moving those services locally, I save $15/month in cloud fees. The server costs me about $4/month in electricity on average. Net savings: $11/month.
The hardware cost was roughly $580. $580 / $11 ≈ 52 months to break even purely on op-ex vs. cap-ex. While that takes a few years, the value isn’t just in the dollars saved—it’s in the capability. I now have 64GB of RAM and 8TB of potential storage at my disposal, which would cost hundreds per month in the cloud.
Key Takeaways & Future-Proofing
Building a $500 Proxmox lab is entirely feasible if you prioritize modern, efficient components over legacy enterprise gear. The Ryzen 5600G platform offers the perfect balance of single-core speed and multi-threaded throughput for a mixed workload of containers and VMs.
For those looking to replicate this “Iowa Basement” setup:
- Climate matters: Don’t put a 200W heater in a damp basement. Low TDP APUs are safer for long-term hardware longevity in uncontrolled environments.
- ECC RAM is cheap: Don’t skip it. For less than $100, you can get 64GB of error-correcting memory, which is essential for ZFS reliability.
- Automate early: Use Ansible or Terraform. Manually configuring containers is a trap that makes migrating to a new host painful later.
Looking ahead, this build has room to grow. The B550 motherboard supports PCIe 4.0, meaning I can easily add a dedicated GPU in the future for local AI inference—running models like Llama 3 directly in the basement. This creates a private, secure AI sandbox that no cloud provider can touch.
This build proves that you don’t need a rack-mounted server room to run serious infrastructure. Sometimes, you just need a quiet box in the corner and a solid understanding of Linux virtualization.
Get the next deep dive before it hits search.
RodyTech publishes practical writing on AI systems, infrastructure, and software that teams can actually ship. Subscribe for new posts without waiting for an algorithm to surface them.
- One useful email when a new article is worth your time
- Hands-on notes from real builds, deployments, and ops work
- No generic growth funnel copy, just the writing

No comments yet